Introduction to ROS 2

CSC477 Tutorial #2
Concepts, tools, and the plumbing of a robot controller

Conceptual slides adapted from: http://courses.csail.mit.edu/6.141/spring2014/pub/lectures/Lec05-ROS-Lecture.pptm

Updated for ROS 2, with the tools and concepts you will need for Assignment 1.

Outline

  1. What is ROS, and why does robotics use it?
  2. ROS 1 vs. ROS 2: what changed, what did not
  3. Setting up ROS 2 for Assignment 1
  4. Anatomy of a ROS 2 node in Python (rclpy)
  5. The messages you need: LaserScan, Twist, Float32
  6. Working with laser scans: geometry, sectors, frames
  7. Anatomy of a controller node
  8. Parameters, launch files, bags, and debugging tools
  9. Gazebo and rviz2
  10. Exercises in tutorials/w02/code

Part 1: What is ROS?

A meta-operating system for robots

What is ROS?

  • A “meta” operating system: not a kernel, but the glue between processes on one or many computers.
  • Open source (Apache 2.0 for ROS 2 core; BSD for ROS 1).
  • Runs best on Ubuntu Linux; ROS 2 also has Windows and macOS support.
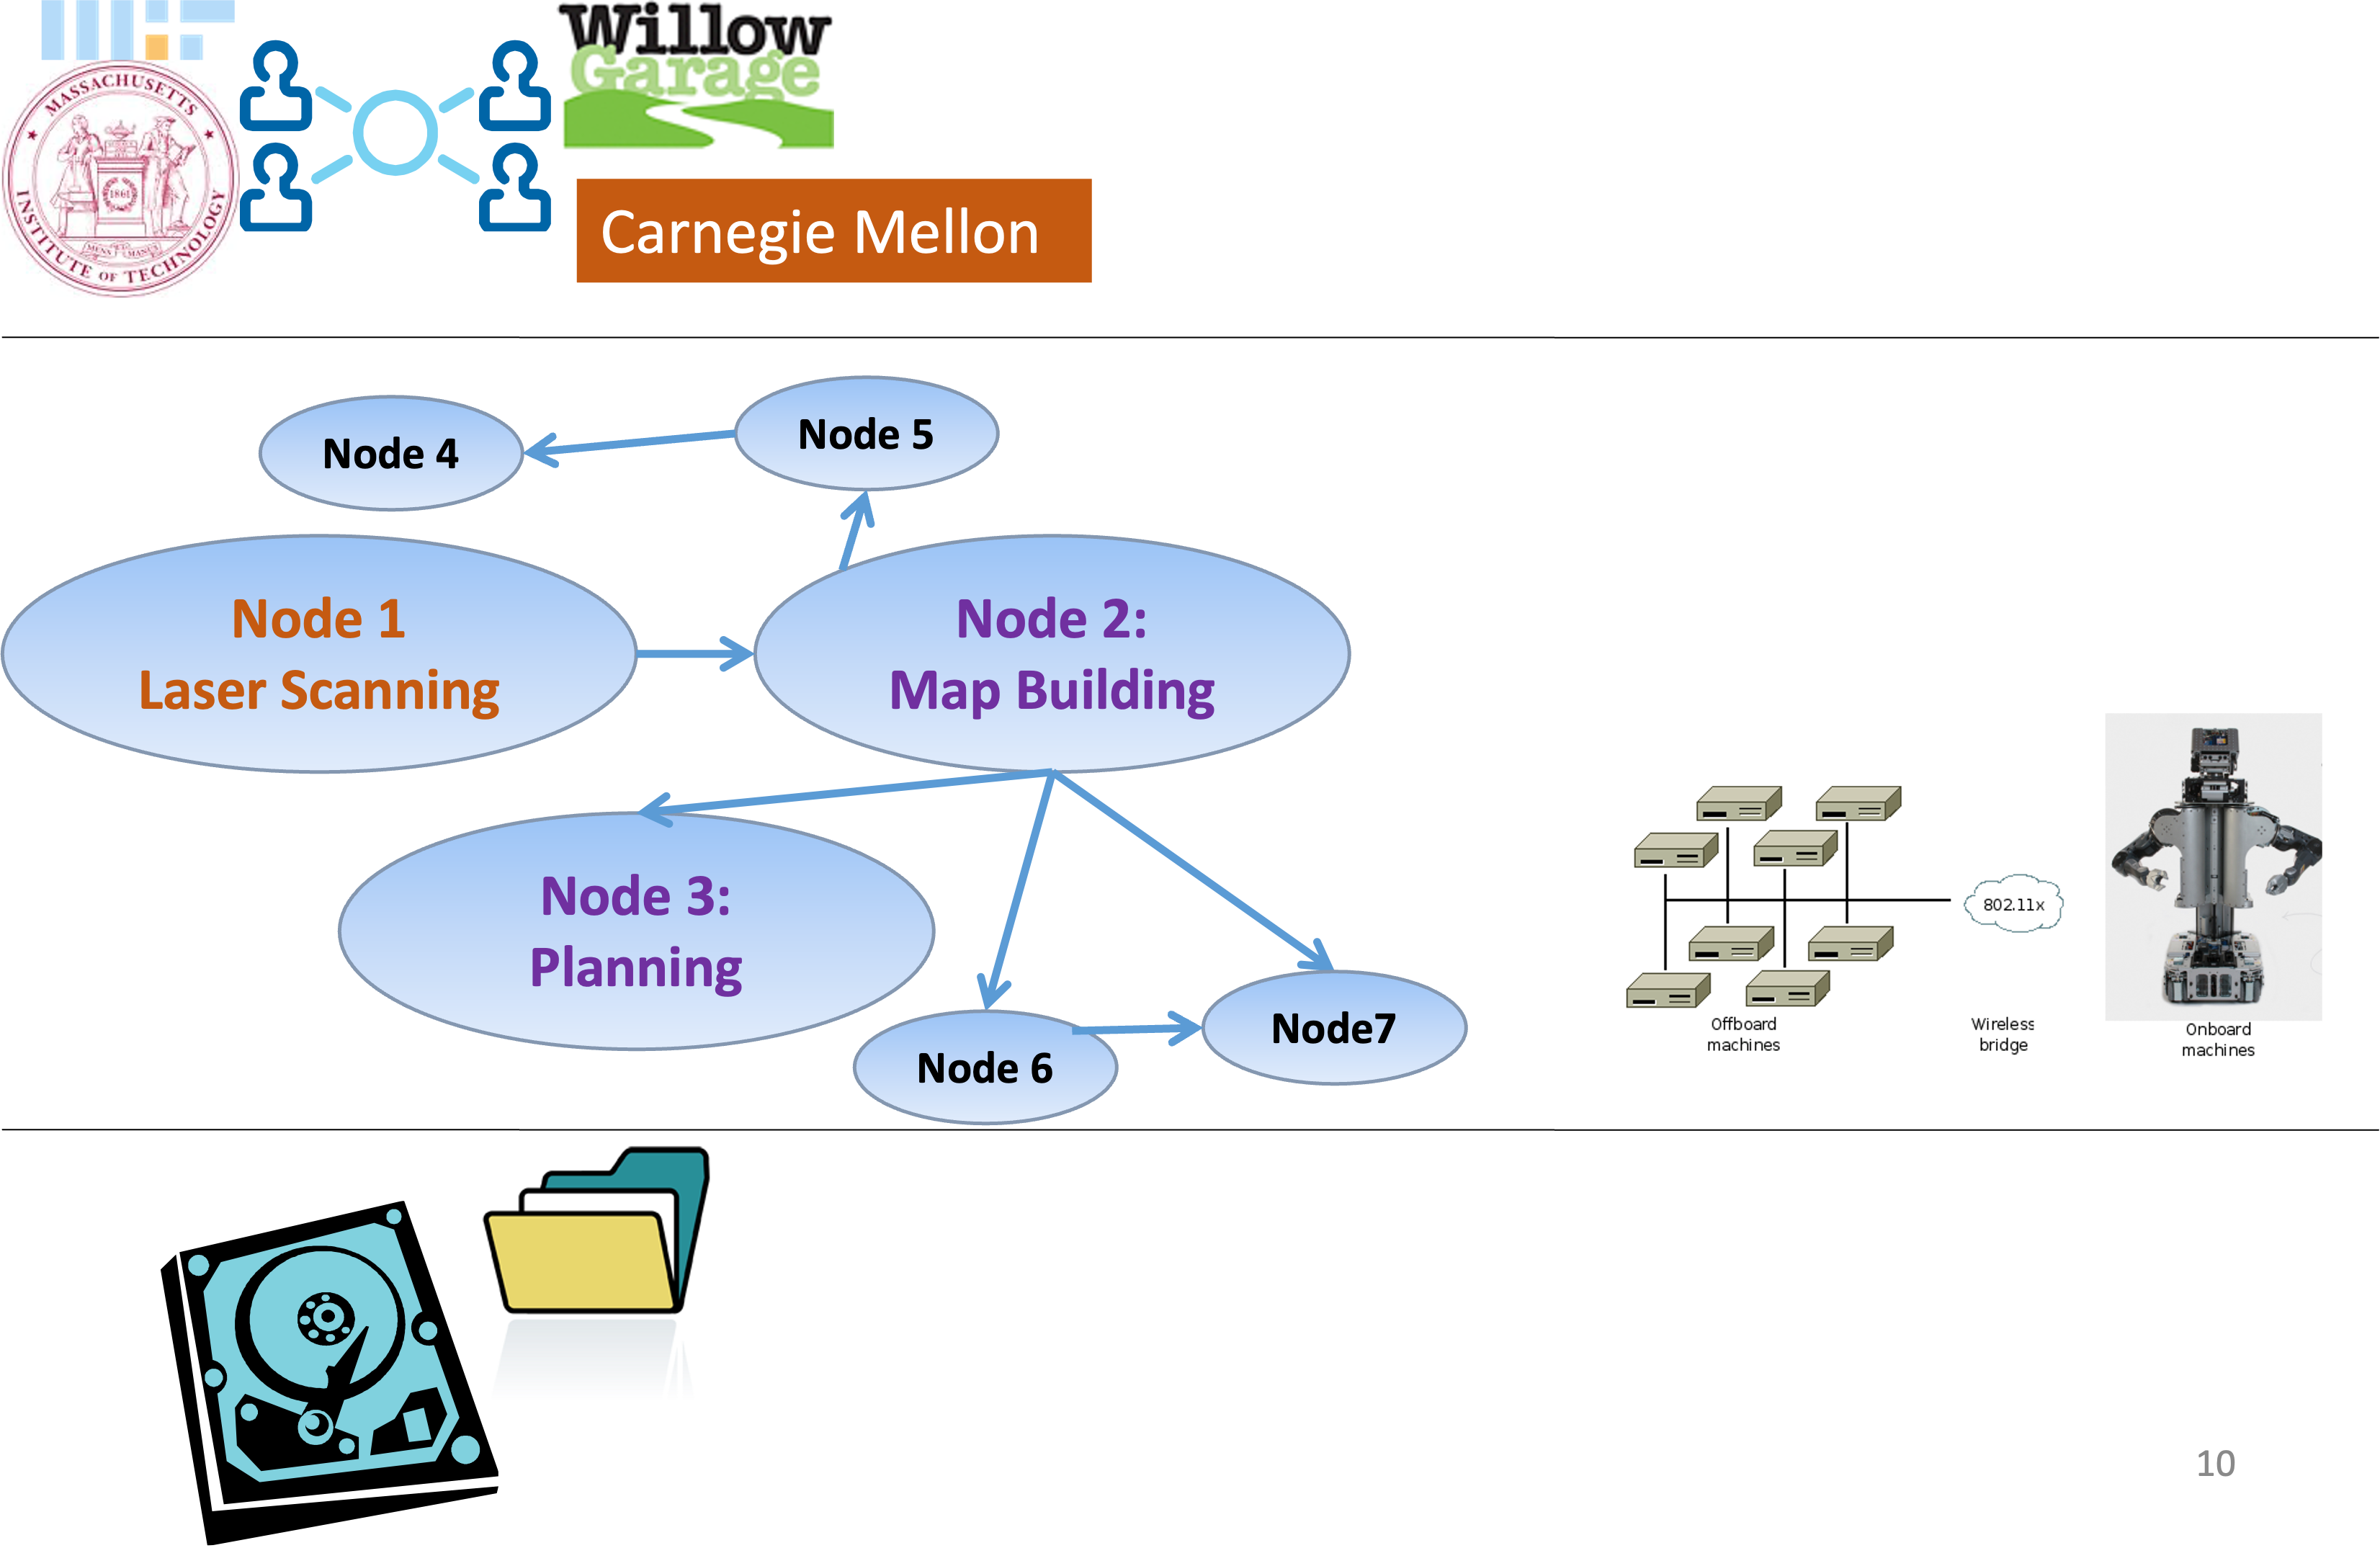
  • Nodes: small processes, each doing one job.
  • Message passing
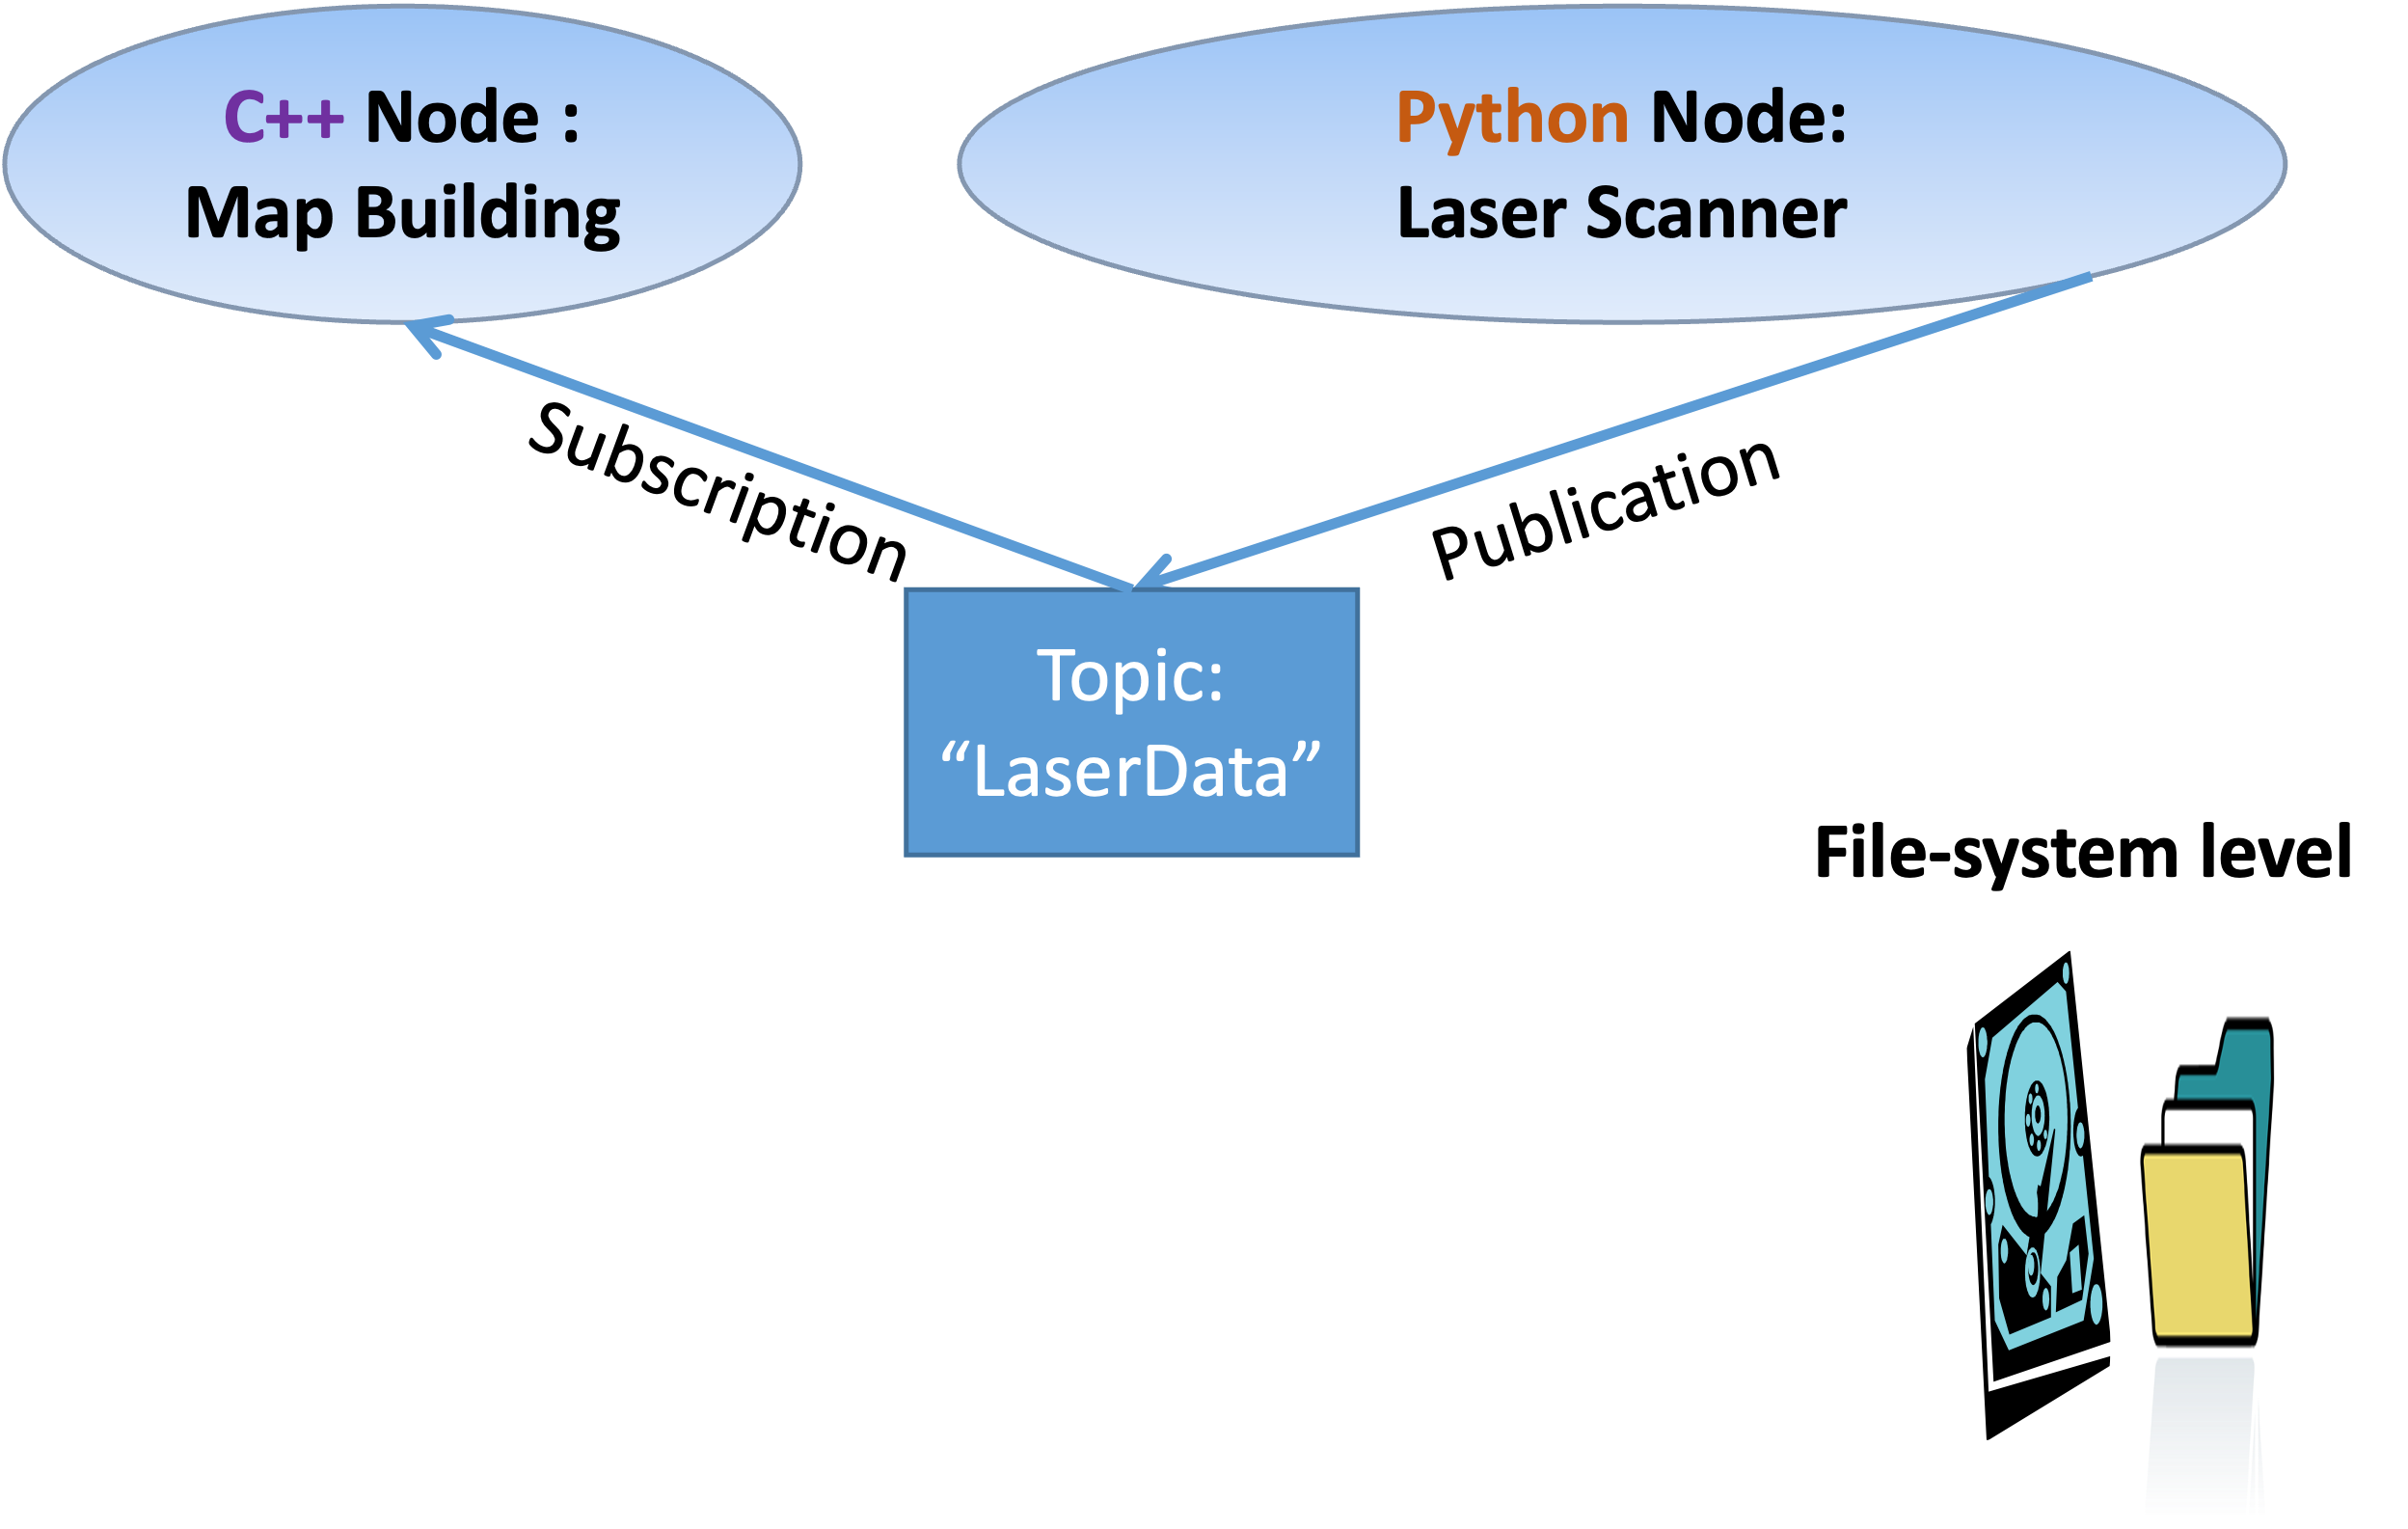
    • Publish / subscribe on topics (asynchronous streams)
    • Services (request / response)
    • Actions (long-running goals with feedback; ROS 2 makes these first class)
  • Many languages: C++ (rclcpp) and Python (rclpy) are the official ones; Rust, Java and others exist.

What is ROS?

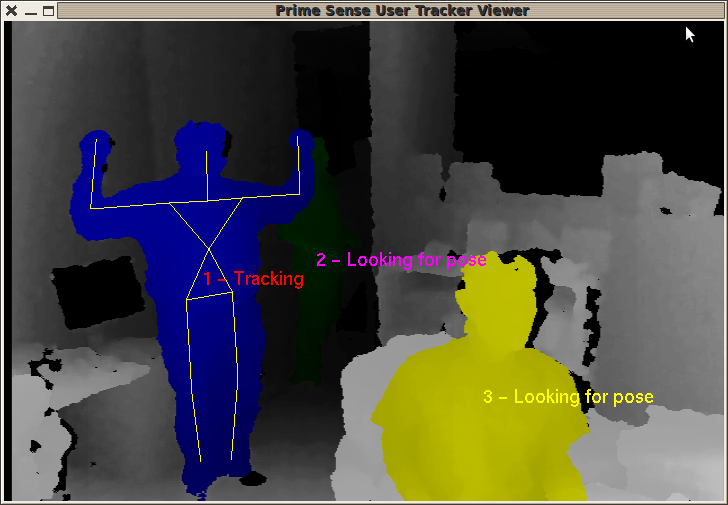
  • Low level device abstraction
    • Joystick
    • GPS
    • Camera
    • Controllers
    • Laser Scanners
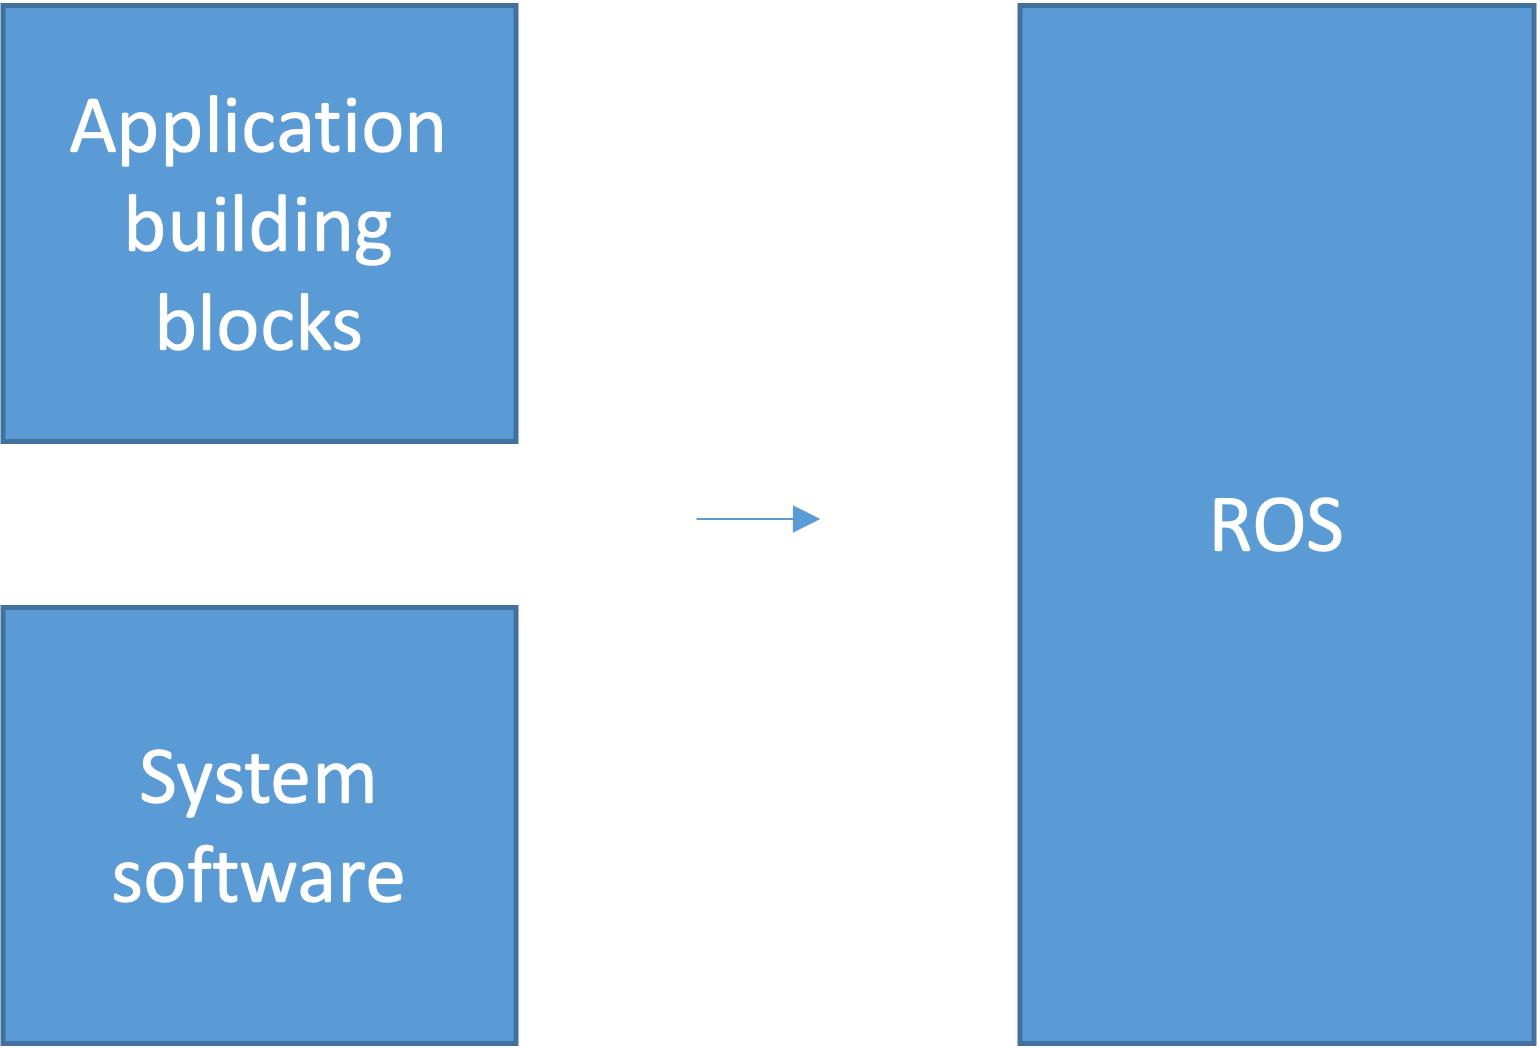
  • Application building blocks
    • Coordinate system transforms (tf2)
    • Visualization tools (rviz2, rqt)
    • Debugging tools (ros2 topic, ros2 bag)
    • Robust navigation stack (Nav2, SLAM Toolbox)
    • Arm path planning (MoveIt 2)
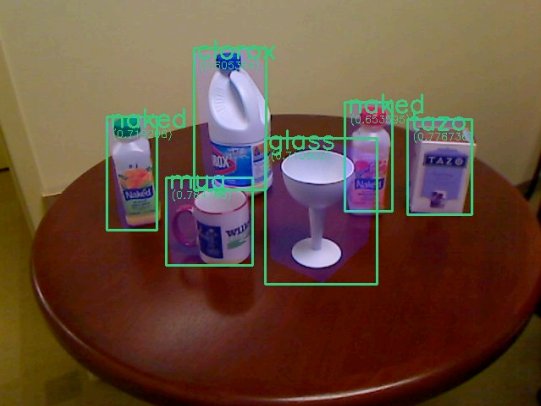
    • Object recognition

What is ROS?

  • Software management (compiling, packaging, dependency resolution)
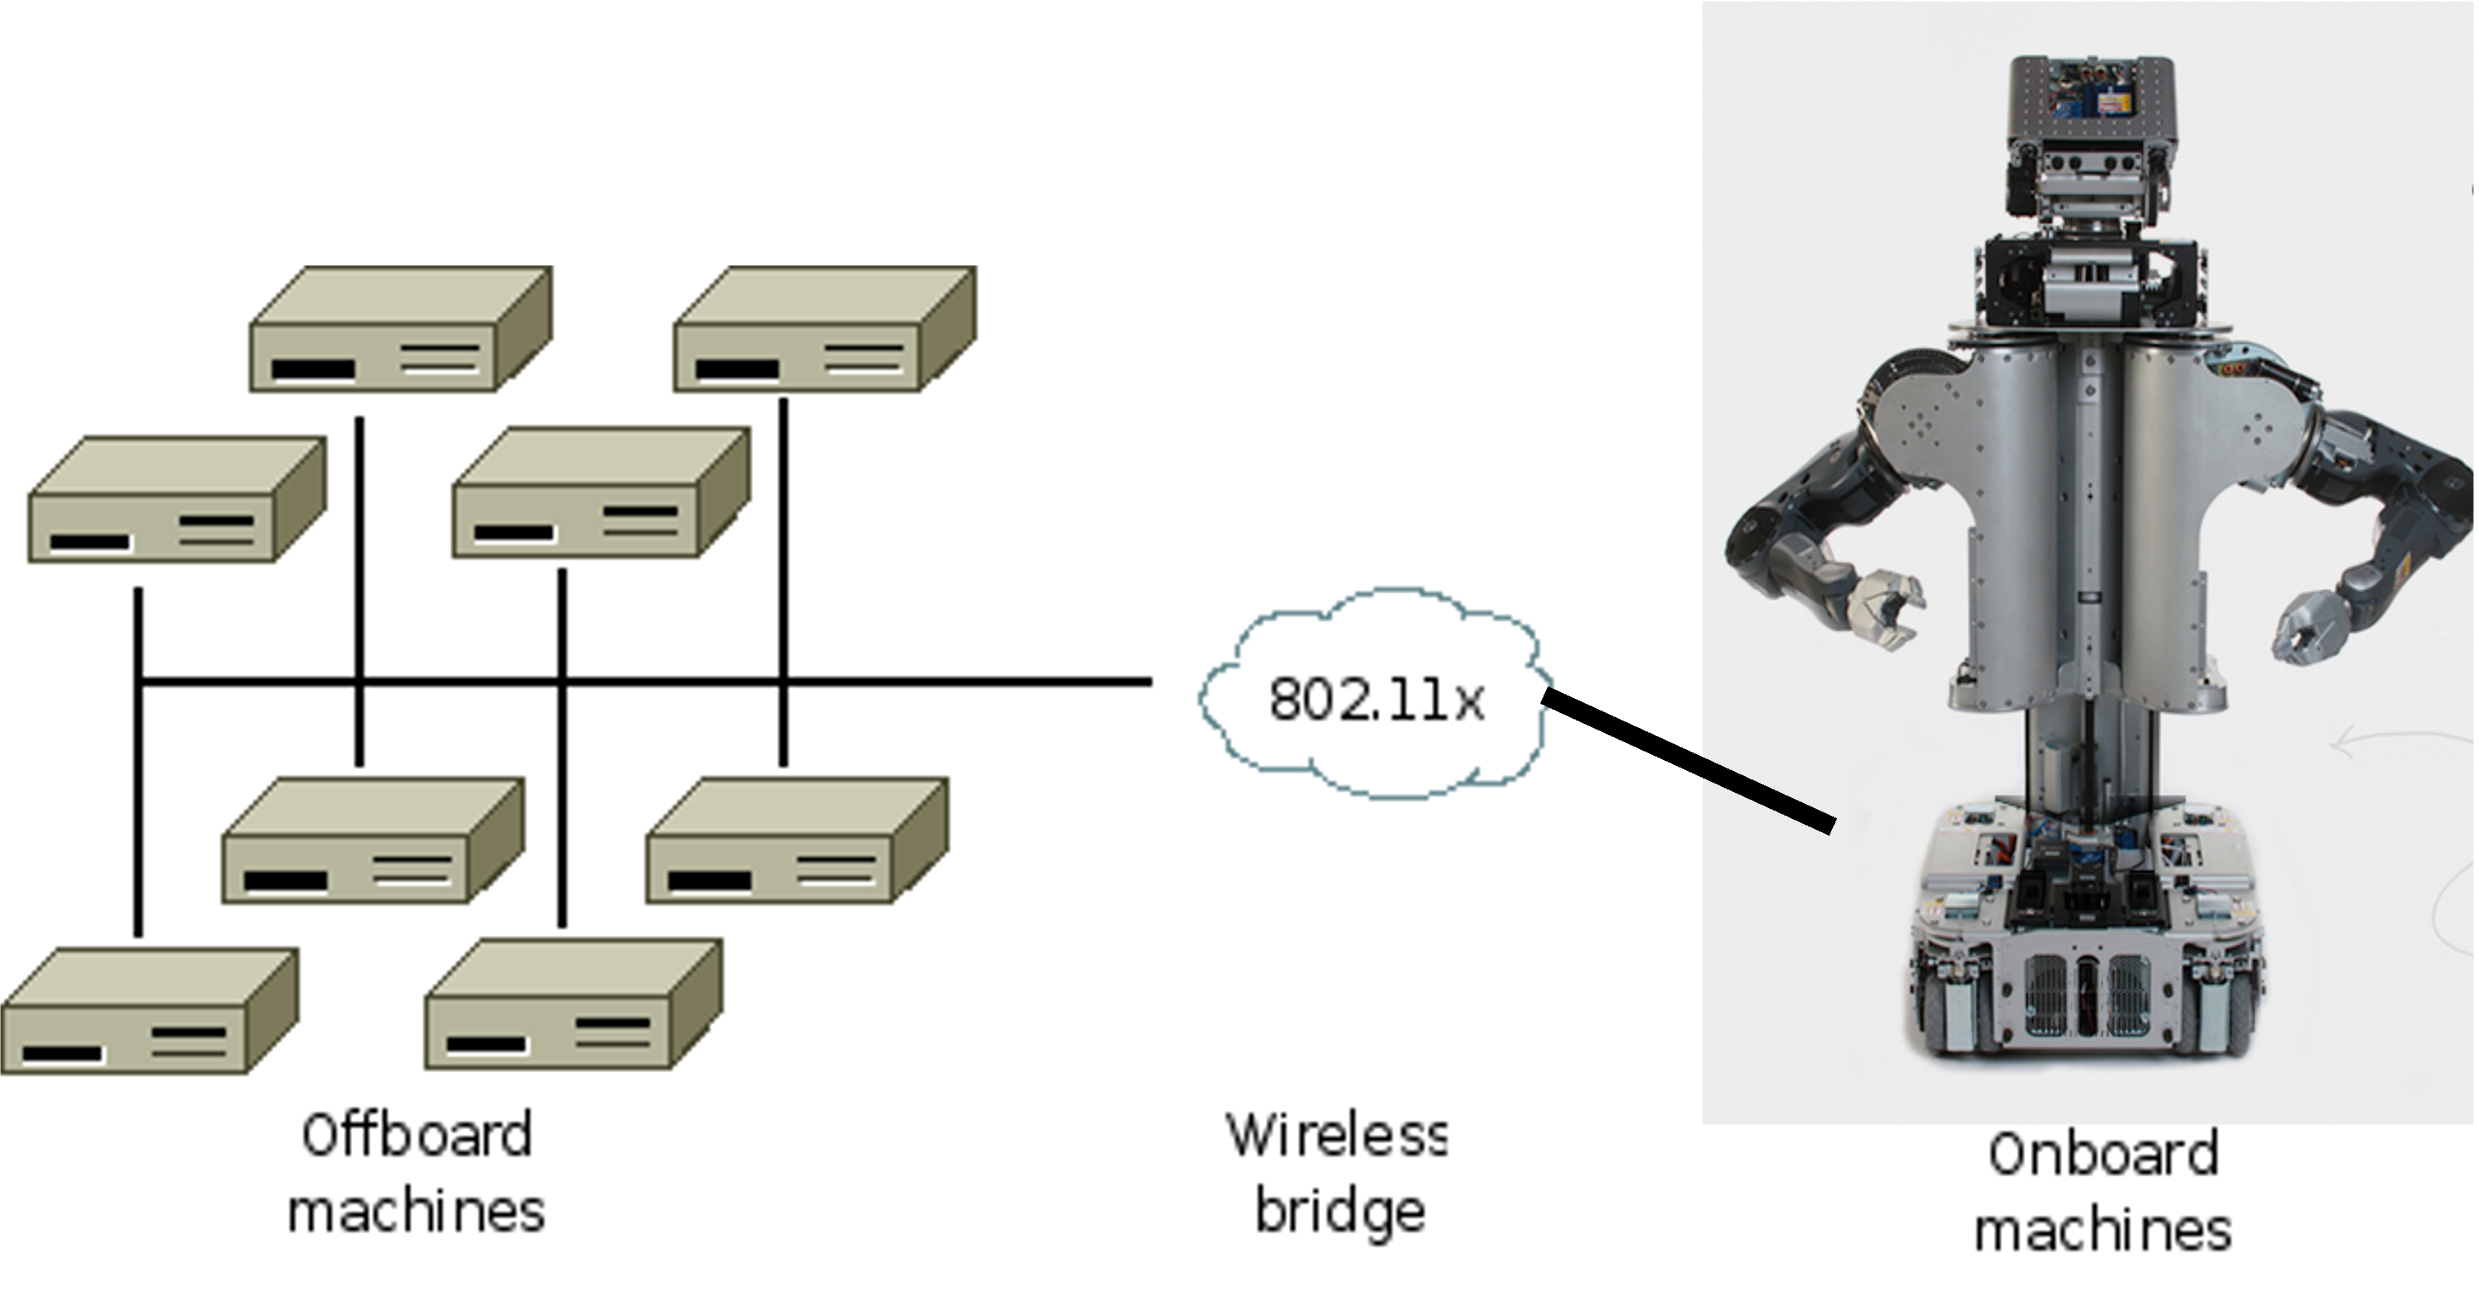
  • Remote communication and control

What is ROS?

  • Started at Stanford (2007), developed by Willow Garage, now maintained by Open Robotics / the OSRA.
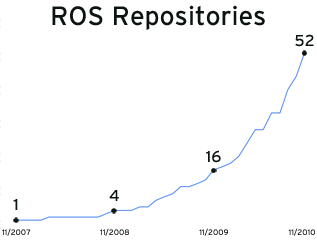
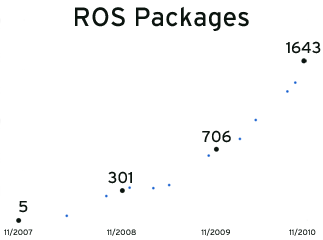
  • Exponential adoption
  • Countless commercial, hobby, and academic robots use ROS (https://robots.ros.org)
 

ROS philosophical goals

  • “Hardware agnosticism”: the same controller code runs in Gazebo and on a real Husky.
  • Peer to peer
  • Tools based software design
  • Multiple language support (C++ / Python)
  • Lightweight: runs only at the edge of your modules
  • Free and open source
  • Suitable for large scale research and industry

Conceptual levels of design

(A) ROS Community: ROS Distributions, Repositories

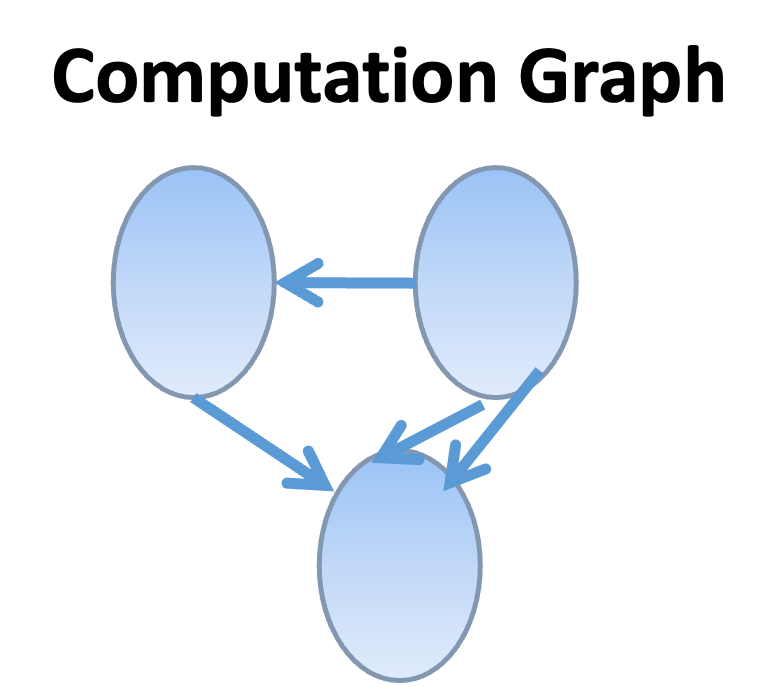
(B) Computation Graph: Peer-to-Peer Network of
ROS nodes (processes).

(C) File-system level: ROS Tools for managing source code,
build instructions, and message definitions.

Tools-based software design

Tools for:

  • Building ROS packages (colcon build)
  • Running ROS nodes (ros2 run, ros2 launch)
  • Viewing network topology (rqt_graph)
  • Monitoring network traffic (ros2 topic)
  • Recording and replaying data (ros2 bag)

Many cooperating processes, instead of a single monolithic program.

Multiple language support

  • ROS is implemented natively in each language, on top of a shared C core (rcl).
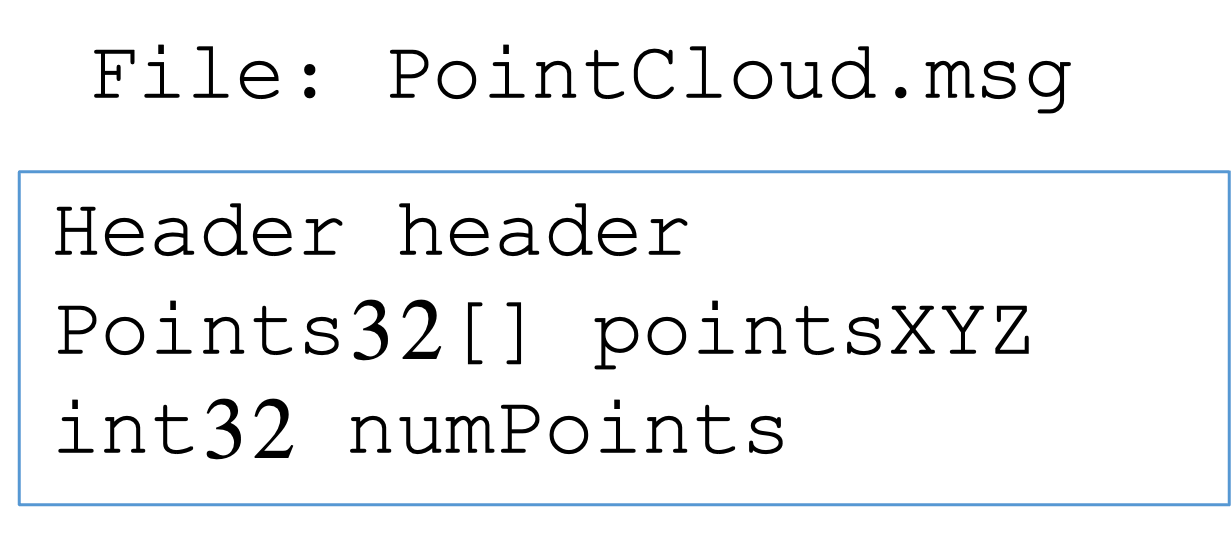
  • Quickly define messages in a language-independent format (.msg files).

Lightweight

  • Encourages standalone libraries with no ROS dependencies:
    Don’t put ROS dependencies in the core of your algorithm!

  • Use ROS only at the edges of your interconnected software modules: Downstream/Upstream interface.

    • For Assignment 1: write your PID class as plain Python. Only the node that subscribes and publishes should import rclpy.
  • ROS re-uses code from a variety of projects:

    • OpenCV : Computer Vision Library
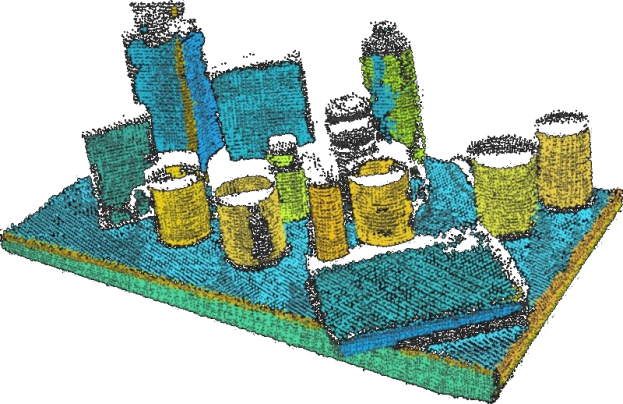
    • Point Cloud Library (PCL) : 3D Data Processing
    • MoveIt 2 : Motion Planning

Peer to peer messaging

  • No central server through which messages are routed.
  • ROS 2: no master at all. Nodes discover each other automatically through DDS (Data Distribution Service) on the local network.
  • Messaging types:
    • Topics : asynchronous data streaming (many-to-many)
    • Services : synchronous request / reply
    • Actions : goals with feedback and cancellation
    • Parameters : per-node configuration values, settable at runtime
Peer to peer messaging

  • Discovery: DDS multicasts “I exist, I publish X”; nodes on the same ROS_DOMAIN_ID find each other. No roscore.

  • Publish: Will not block until receipt, messages get queued.

  • Quality of Service (QoS): Each publisher and subscriber declares a QoS profile: history depth (queue size), reliable vs. best effort, durability. Publisher and subscriber QoS must be compatible or you silently receive nothing.

    • Sensor drivers and Gazebo publish laser scans as best effort. Subscribe with qos_profile_sensor_data.
  • Transport: UDP by default (DDS), shared memory on the same machine.

Free & open source

  • Permissive licenses : can develop commercial applications
  • Drivers (cameras, lidars, joysticks, IMUs, and others)
  • Perception, planning, control libraries (Nav2, MoveIt 2, ros2_control)
  • Interfaces to other libraries: OpenCV, PCL, etc.

Part 2: ROS 1 vs. ROS 2

Why ROS 2?

ROS 1 (2007 to 2025) was built for a single robot, on a single trusted network, with a single central master.

ROS 2 (2017 onwards) was redesigned for:

  • Multi-robot systems and unreliable networks: DDS middleware, no master, QoS policies.
  • Real time and embedded: C core, deterministic executors, micro-ROS on microcontrollers.
  • Security: authentication and encryption between nodes (SROS2).
  • Production use: lifecycle-managed nodes, first-class actions, typed parameters.
  • Cross platform: Linux, Windows, macOS.

ROS 1 Noetic reached end of life in May 2025. Everything new is ROS 2.

ROS 2 distributions

Distro Ubuntu Released Supported until Gazebo
Humble Hawksbill (LTS) 22.04 May 2022 May 2027 Fortress
Jazzy Jalisco (LTS) 24.04 May 2024 May 2029 Harmonic
Kilted Kaiju 24.04 May 2025 Nov 2026 Ionic
Lyrical Luth (LTS) 26.04 May 2026 May 2031 Jetty
  • One distro per Ubuntu release; do not mix a distro with a different Ubuntu version.
  • For this course we recommend Jazzy on Ubuntu 24.04. Humble also works. Lyrical is very new, so fewer packages are available yet.
  • Check yours with echo $ROS_DISTRO.

What stays the same

The concepts from ROS 1 carry over almost unchanged:

  • Nodes, topics, publishers, subscribers, services, messages, parameters
  • Message definitions: sensor_msgs/LaserScan, geometry_msgs/Twist, std_msgs/Float32 are the same fields
  • tf2 coordinate frame tree, rviz (now rviz2), rqt tools, bag files
  • Gazebo simulation, URDF robot descriptions
  • Package structure: a folder with package.xml and build instructions

So old ROS 1 tutorials and Stack Overflow answers are still useful for ideas; only the commands and the client-library API differ.

Command cheat sheet: ROS 1 to ROS 2

  • roscore(nothing; no master)
  • catkin_makecolcon build
  • source devel/setup.bashsource install/setup.bash
  • rosrun pkg noderos2 run pkg node
  • roslaunch pkg f.launchros2 launch pkg f.launch.py
  • rostopic list / echo / hzros2 topic list / echo / hz
  • rosnode list / inforos2 node list / info
  • rosmsg show Tros2 interface show T
  • rosparam setros2 param set
  • dynamic_reconfigure → node parameters + rqt_reconfigure
  • rosbag record / playros2 bag record / play
  • rosrun rviz rvizrviz2
  • rosrun tf tf_echo a bros2 run tf2_ros tf2_echo a b
  • rqt_graphrqt_graph (unchanged)
  • import rospyimport rclpy
  • #include <ros/ros.h>#include <rclcpp/rclcpp.hpp>

Python API: rospy vs. rclpy

ROS 1

import rospy
from std_msgs.msg import Float32

rospy.init_node("scan_stats")
pub = rospy.Publisher("/closest", Float32,
                      queue_size=10)

def cb(scan):
    pub.publish(Float32(data=min(scan.ranges)))

rospy.Subscriber("/scan", LaserScan, cb)
rospy.spin()

ROS 2

import rclpy
from rclpy.node import Node
from std_msgs.msg import Float32

class ScanStats(Node):
    def __init__(self):
        super().__init__("scan_stats")
        self.pub = self.create_publisher(
            Float32, "/closest", 10)
        self.create_subscription(
            LaserScan, "/scan", self.cb, 10)

    def cb(self, scan):
        self.pub.publish(Float32(data=min(scan.ranges)))

rclpy.init()
rclpy.spin(ScanStats())

Main difference: in ROS 2 everything hangs off a Node object instead of module-level functions.

Part 3: Setting up ROS 2 for Assignment 1

Install options

  1. Ubuntu 24.04 (native or dual boot) with Jazzy. Best experience, especially for Gazebo and rviz2.
  2. Lab machines: ROS 2 and Gazebo are installed. Use VNC or run locally in the lab.
  3. macOS / Windows: run Ubuntu 24.04 in a VM (UTM, VirtualBox, WSL2 with WSLg) or in Docker (osrf/ros:jazzy-desktop-full). Gazebo needs a GPU or software rendering (LIBGL_ALWAYS_SOFTWARE=1), so expect it to be slow.

Sanity check after installing:

source /opt/ros/jazzy/setup.bash
ros2 run demo_nodes_cpp talker      # terminal 1
ros2 run demo_nodes_py listener     # terminal 2

Workspace layout

mkdir -p ~/csc477_ws/src
cd ~/csc477_ws/src
git clone <assignment starter code repo>
cd ~/csc477_ws
rosdep install --from-paths src --ignore-src -r -y   # pull in dependencies
colcon build --symlink-install
source install/setup.bash
  • src/ holds packages; build/, install/, log/ are generated by colcon.
  • --symlink-install means edits to Python files and launch files take effect without rebuilding.
  • Add to ~/.bashrc so every new terminal is ready:
source /opt/ros/jazzy/setup.bash
source ~/csc477_ws/install/setup.bash
  • Rebuild only what changed: colcon build --packages-select wall_following_assignment.

Anatomy of a Python package

csc477_tut02/
├── package.xml            # name, version, dependencies (rclpy, sensor_msgs, ...)
├── setup.py               # entry points: "obstacle_monitor = csc477_tut02.obstacle_monitor:main"
├── setup.cfg
├── resource/csc477_tut02  # marker file used by ament
├── launch/
│   └── tut02.launch.py
└── csc477_tut02/
    ├── __init__.py
    ├── minimal_publisher.py
    └── obstacle_monitor.py
  • ros2 pkg create --build-type ament_python --dependencies rclpy sensor_msgs my_pkg generates this skeleton.
  • Each entry point in setup.py becomes an executable: ros2 run csc477_tut02 obstacle_monitor.
  • C++ packages use ament_cmake and a CMakeLists.txt instead of setup.py.

Part 4: Anatomy of a ROS 2 node

A minimal publisher

import rclpy
from rclpy.node import Node
from std_msgs.msg import String

class MinimalPublisher(Node):
    def __init__(self):
        super().__init__("minimal_publisher")          # node name
        self.pub = self.create_publisher(String, "chatter", 10)   # type, topic, queue depth
        self.timer = self.create_timer(0.5, self.on_timer)        # period in seconds
        self.count = 0

    def on_timer(self):
        msg = String()
        msg.data = f"Hello ROS 2: {self.count}"
        self.pub.publish(msg)
        self.get_logger().info(f'Publishing: "{msg.data}"')
        self.count += 1

def main():
    rclpy.init()
    node = MinimalPublisher()
    rclpy.spin(node)          # blocks; runs timer and subscription callbacks
    node.destroy_node()
    rclpy.shutdown()

A minimal subscriber

import rclpy
from rclpy.node import Node
from std_msgs.msg import String

class MinimalSubscriber(Node):
    def __init__(self):
        super().__init__("minimal_subscriber")
        self.sub = self.create_subscription(String, "chatter", self.on_msg, 10)

    def on_msg(self, msg: String):
        self.get_logger().info(f'I heard: "{msg.data}"')

def main():
    rclpy.init()
    rclpy.spin(MinimalSubscriber())
    rclpy.shutdown()
  • Callbacks are only run while the node is being spun. If your node never prints anything, check that you called rclpy.spin.
  • Topic names and types must match exactly: ros2 topic info /chatter shows publishers, subscribers, and the type.

Execution model

  • rclpy.spin(node): single-threaded executor. Callbacks run one at a time, in the order events arrive. Simple and sufficient for Assignment 1.
  • A long computation inside a callback delays all other callbacks (including the next laser scan). Keep callbacks short.
  • rclpy.spin_once(node, timeout_sec=...) if you need your own loop.
  • Multi-threaded executors and callback groups exist for when you need concurrency; not needed here.

Logging levels: self.get_logger().debug / info / warn / error. Filter at runtime with --ros-args --log-level debug.

Time and timestamps

now = self.get_clock().now()                 # rclpy.time.Time
t   = rclpy.time.Time.from_msg(scan.header.stamp)
dt  = (now - self.last_time).nanoseconds * 1e-9
  • Every sensor message has a header.stamp (when it was measured) and header.frame_id (which coordinate frame).
  • Use timestamps, not time.time(), to compute dt in a controller: simulation may run slower or faster than wall clock.
  • In Gazebo, nodes should use simulated time: launch with parameter use_sim_time: true and the /clock topic drives get_clock(). WHY?

Part 5: The messages you need

Inspecting message types

ros2 interface show sensor_msgs/msg/LaserScan
ros2 interface show geometry_msgs/msg/Twist
ros2 interface show std_msgs/msg/Float32
ros2 interface list | grep -i laser

Assignment 1 data flow:

flowchart LR
    Gazebo["Gazebo: Husky + lidar"] -->|"LaserScan"| Scan["/husky_1/scan"]
    Scan --> Node["your node"]
    Node -->|"Float32"| Cte["/husky_1/cte"]
    Node -->|"Twist"| Cmd["/husky_1/cmd_vel"]
    Cmd --> Gazebo
    Cte --> Bag["ros2 bag / rqt_plot"]

sensor_msgs/msg/LaserScan

std_msgs/Header header      # stamp, frame_id (e.g. "laser")
float32 angle_min           # start angle of the scan [rad]
float32 angle_max           # end angle of the scan [rad]
float32 angle_increment     # angular distance between measurements [rad]
float32 time_increment      # time between measurements [s]
float32 scan_time           # time between scans [s]
float32 range_min           # minimum valid range [m]
float32 range_max           # maximum valid range [m]
float32[] ranges            # range data [m]  (len = (angle_max-angle_min)/angle_increment + 1)
float32[] intensities       # may be empty
  • Beam i is at angle \(\theta_i = \text{angle_min} + i \cdot \text{angle_increment}\) in the frame_id frame.
  • Values outside [range_min, range_max], or inf / nan, mean “no return”: filter them out before taking a minimum.

Frame conventions (REP 103)

  • Robot body frame base_link: x forward, y left, z up.
  • Angles are counter-clockwise about z: \(\theta = 0\) is straight ahead, \(\theta = +\pi/2\) is the left, \(\theta = -\pi/2\) is the right.
  • The Husky lidar frame is usually aligned with base_link (check with ros2 run tf2_ros tf2_echo base_link laser).
  • So the wall on the robot’s left shows up in the beams with \(\theta \approx +\pi/2\).
  • Units: meters, radians, seconds. Twist.linear.x is m/s, Twist.angular.z is rad/s (positive = turn left).

geometry_msgs/msg/Twist and std_msgs/msg/Float32

from geometry_msgs.msg import Twist
from std_msgs.msg import Float32

cmd = Twist()
cmd.linear.x  = 1.0       # forward speed [m/s]; differential drive: linear.y is ignored
cmd.angular.z = omega     # yaw rate [rad/s], output of your controller
self.cmd_pub.publish(cmd)

err_msg = Float32()
err_msg.data = float(error) # ROS 2 checks types: numpy.float64 must be cast to float
self.err_pub.publish(err_msg)
  • A differential drive robot can only realize linear.x and angular.z.
  • The velocity controller stops the robot if it does not receive commands for a while: publish on every scan callback.

Part 6: Working with laser scans

From ranges to geometry

import numpy as np

def scan_to_arrays(scan):
    ranges = np.asarray(scan.ranges, dtype=float)
    angles = scan.angle_min + np.arange(len(ranges)) * scan.angle_increment
    valid = np.isfinite(ranges) & (ranges >= scan.range_min) & (ranges <= scan.range_max)
    return angles[valid], ranges[valid]

def polar_to_cartesian(angles, ranges):
    # points in the laser frame: x forward, y left
    return ranges * np.cos(angles), ranges * np.sin(angles)
  • Work with numpy arrays, not Python loops: scans have 700+ beams at 10 to 50 Hz.
  • Always filter first. A single inf in np.min or np.mean silently poisons the result.
  • Cartesian points are what you need for fitting lines (least squares, Tutorial 3), building maps, or drawing in rviz2 as a Marker.

Sector summaries

Robots rarely need all 700 beams. Summarize a scan by angular sectors:

def sector_min(angles, ranges, center, half_width):
    """Closest valid return within +/- half_width of `center` (radians), or None."""
    window = np.abs(angles - center) < half_width
    return float(ranges[window].min()) if window.any() else None

front_clearance = sector_min(angles, ranges, center=0.0, half_width=np.deg2rad(15))
  • Front clearance is the basis of every emergency stop: if front_clearance < 0.5: stop.
  • A sector minimum is robust to single noisy beams; a single beam is not. Consider a low percentile instead of min for very noisy sensors.
  • Handle the None case: an open doorway or an out-of-range wall is not an error.
  • Assignment 1 asks you to turn a scan into a scalar error for a controller. Which beams, which statistic, and what sign convention is your design decision; think about it with the sim in Gazebo and ros2 topic echo in front of you.

Points live in frames

A lidar mounted at \((x_L, y_L)\) with yaw \(\psi_L\) on the robot reports points in the laser frame. To use them together with odometry or a map they must be expressed in base_link or odom:

\[ \begin{bmatrix} x_b \\ y_b \\ 1 \end{bmatrix} = \underbrace{\begin{bmatrix} \cos\psi_L & -\sin\psi_L & x_L \\ \sin\psi_L & \cos\psi_L & y_L \\ 0 & 0 & 1 \end{bmatrix}}_{T^{b}_{L}} \begin{bmatrix} x_L' \\ y_L' \\ 1 \end{bmatrix} \]

  • \(T^{b}_{L}\) reads “the pose of laser expressed in base_link”; it maps laser-frame points to body-frame points.
  • Chain transforms by multiplication: \(T^{o}_{L} = T^{o}_{b}\, T^{b}_{L}\). Invert to go back: \(T^{L}_{b} = (T^{b}_{L})^{-1}\).
  • This is exactly what tf2 stores and looks up for you, over time. ros2 run tf2_ros tf2_echo base_link laser prints \(T^{b}_{L}\).
  • Exercise 2 in code/standalone makes you build, chain, and invert these matrices by hand.

Part 7: Anatomy of a controller node

The plumbing, not the math

A closed-loop controller in ROS 2 is a subscriber callback that publishes a command:

class MyController(Node):
    def __init__(self):
        super().__init__("my_controller")
        self.declare_parameter("gain", 1.0)                       # tunable at runtime
        self.cmd_pub = self.create_publisher(Twist, "cmd_vel", 10)
        self.dbg_pub = self.create_publisher(Float32, "error", 10)  # for plotting / bagging
        self.create_subscription(LaserScan, "scan", self.on_scan, qos_profile_sensor_data)
        self.last_stamp = None

    def on_scan(self, scan: LaserScan):
        stamp = Time.from_msg(scan.header.stamp)
        dt = 0.0 if self.last_stamp is None else (stamp - self.last_stamp).nanoseconds * 1e-9
        self.last_stamp = stamp
        error = ...                       # your perception code: scan -> scalar
        u = ...                           # your control law: error, dt, gains -> command
        self.dbg_pub.publish(Float32(data=float(error)))
        cmd = Twist(); cmd.linear.x = 1.0; cmd.angular.z = float(u)
        self.cmd_pub.publish(cmd)
  • Perception and control are plain functions with no rclpy in them: unit test them without ROS.
  • Publish your intermediate signal (the error) on its own topic. It costs nothing and you will need it for tuning, rqt_plot, and ros2 bag.

Practical control details in ROS 2

  • dt from timestamps, not wall-clock time: Gazebo may run slower or faster than real time. With use_sim_time: true, get_clock().now() follows /clock.
  • Rate: you publish one command per scan (10 to 50 Hz). Missing messages (QoS mismatch) or a slow callback shows up as a lower rate in ros2 topic hz cmd_vel.
  • Saturation: real robots have velocity limits. Clamp your output and know when it is clamped.
  • Integrators and windup: if you accumulate anything over time, clamp it and reset it when parameters change or the robot is teleoperated.
  • Startup: the first callback has no history (dt = 0, no previous error). Guard against division by zero.
  • Watchdogs: velocity controllers stop the robot when commands stop arriving. Publishing nothing is a safe default; publishing a stale command is not.

A workflow for Assignment 1

  1. Bring up the simulation and look before you code: ros2 topic list, ros2 topic echo --once /husky_1/scan, ros2 topic hz, rviz2 with the LaserScan display.
  2. Teleoperate and watch the scan change as you drive toward and away from walls. Convince yourself which beam indices see which side of the robot.
  3. Perception first: write and test the scan-to-scalar function on a recorded bag (ros2 bag record /husky_1/scan, then replay), publish it, plot it with rqt_plot.
  4. Control second: start with one gain, make it a parameter, tune with ros2 param set while the robot drives. Record the error topic for every run.
  5. Only then worry about corners and edge cases. Keep a log of what each parameter set did.
ros2 run teleop_twist_keyboard teleop_twist_keyboard --ros-args -r cmd_vel:=/husky_1/cmd_vel

Part 8: Parameters, launch files, bags, debugging

Configuring Parameters

from rcl_interfaces.msg import SetParametersResult

class MyController(Node):
    def __init__(self):
        super().__init__("my_controller")
        self.declare_parameter("gain", 1.0)
        self.gain = self.get_parameter("gain").value
        self.add_on_set_parameters_callback(self.on_params)   # runs BEFORE the change is applied

    def on_params(self, params):
        for p in params:
            if p.name == "gain":
                if p.value < 0.0:
                    return SetParametersResult(successful=False, reason="gain must be >= 0")
                self.gain = p.value                              # reset any accumulated state here too
                self.get_logger().info(f"gain <- {p.value}")
        return SetParametersResult(successful=True)
ros2 param list /my_controller
ros2 param get /my_controller gain
ros2 param set /my_controller gain 2.5        # takes effect immediately via the callback
ros2 param dump /my_controller > tuned.yaml   # save what worked; load with --params-file
ros2 run rqt_reconfigure rqt_reconfigure      # GUI sliders (Part C of A1)
  • Parameters are typed: declaring gain as 1.0 (float) means ros2 param set gain 2 (int) is rejected. Always pass 2.0.
  • Give parameters a ParameterDescriptor with a floating_point_range and rqt_reconfigure shows a slider (see param_demo.py).

Launch files (Python)

# launch/wall_follower.launch.py
from launch import LaunchDescription
from launch.actions import DeclareLaunchArgument
from launch.substitutions import LaunchConfiguration
from launch_ros.actions import Node

def generate_launch_description():
    return LaunchDescription([
        DeclareLaunchArgument("desired_distance", default_value="1.0"),
        Node(
            package="wall_following_assignment",
            executable="wall_follower",
            name="wall_follower",
            output="screen",
            parameters=[{
                "use_sim_time": True,
                "desired_distance": LaunchConfiguration("desired_distance"),
                "kp": 1.0, "ki": 0.0, "kd": 0.1,
            }],
            remappings=[("/scan", "/husky_1/scan")],
        ),
    ])
ros2 launch wall_following_assignment wall_follower.launch.py desired_distance:=1.5

Recording and playback with ros2 bag

ros2 bag record -o run1 /husky_1/cte /husky_1/cmd_vel     # Ctrl-C to stop
ros2 bag info run1
ros2 bag play run1

Export the cross-track error to CSV (Part D of A1). In one terminal:

ros2 topic echo --csv /husky_1/cte > walls_one_sided.csv

and in another:

ros2 bag play run1
  • Bags are directories (.db3 SQLite or .mcap) plus a metadata.yaml, not a single .bag file.
  • Alternatively read the bag from Python with rosbag2_py or the rosbags pip package and plot with matplotlib.

Debugging tools: the ros2 CLI

  • ros2 node list, ros2 node info /wall_follower : what does the node publish and subscribe to?
  • ros2 topic list -t : active topics with types
  • ros2 topic echo /husky_1/cte : print messages
  • ros2 topic hz /husky_1/scan : is the scan arriving, and at what rate?
  • ros2 topic info -v /husky_1/scan : shows QoS of publishers and subscribers. If your subscriber is not in the list, the QoS is incompatible.
  • ros2 topic pub /husky_1/cmd_vel geometry_msgs/msg/Twist "{linear: {x: 0.5}}" : inject a command by hand
  • ros2 doctor : environment sanity check
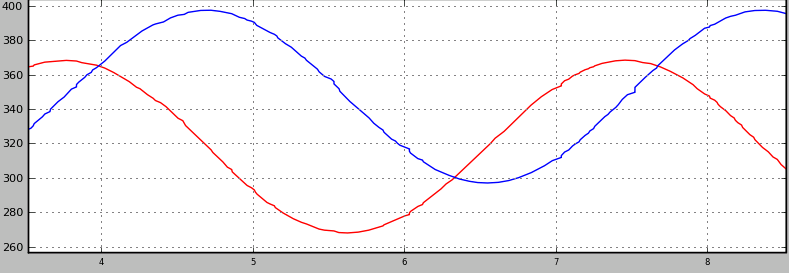
  • ros2 run rqt_plot rqt_plot /husky_1/cte/data : live plot

Debugging tools: the ros2 CLI

Debugging tools: rqt_graph

rqt_graph shows nodes (ellipses) and topics (rectangles). Use it to confirm your node is connected to both the laser and the velocity controller.
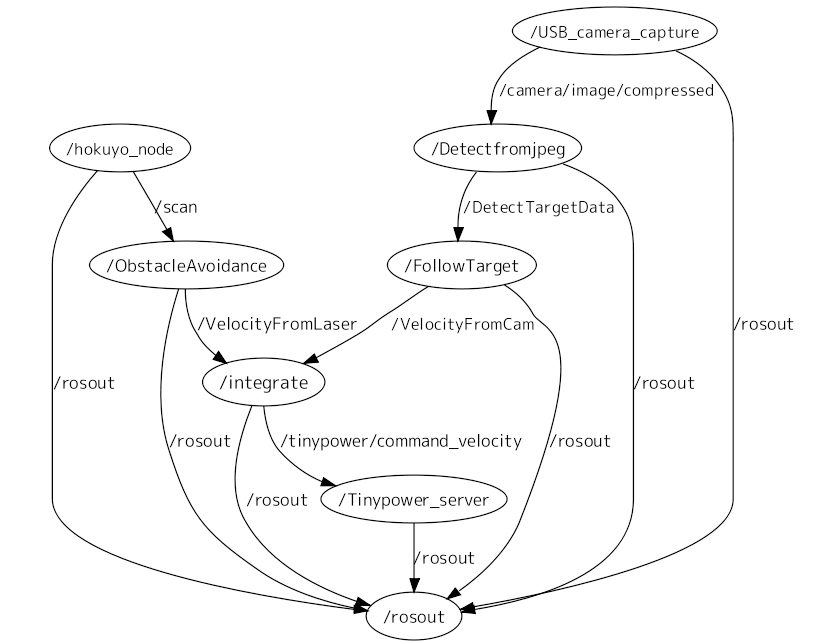
ROS debugging workflow

  • Shutdown one node \(\rightarrow\) edit \(\rightarrow\) restart : the rest of the system (Gazebo, rviz2) keeps running.
  • With --symlink-install, Python edits do not even need a rebuild.
  • Record a bag of the inputs (/husky_1/scan) once; replay it to test your scan-processing code deterministically without the simulator.
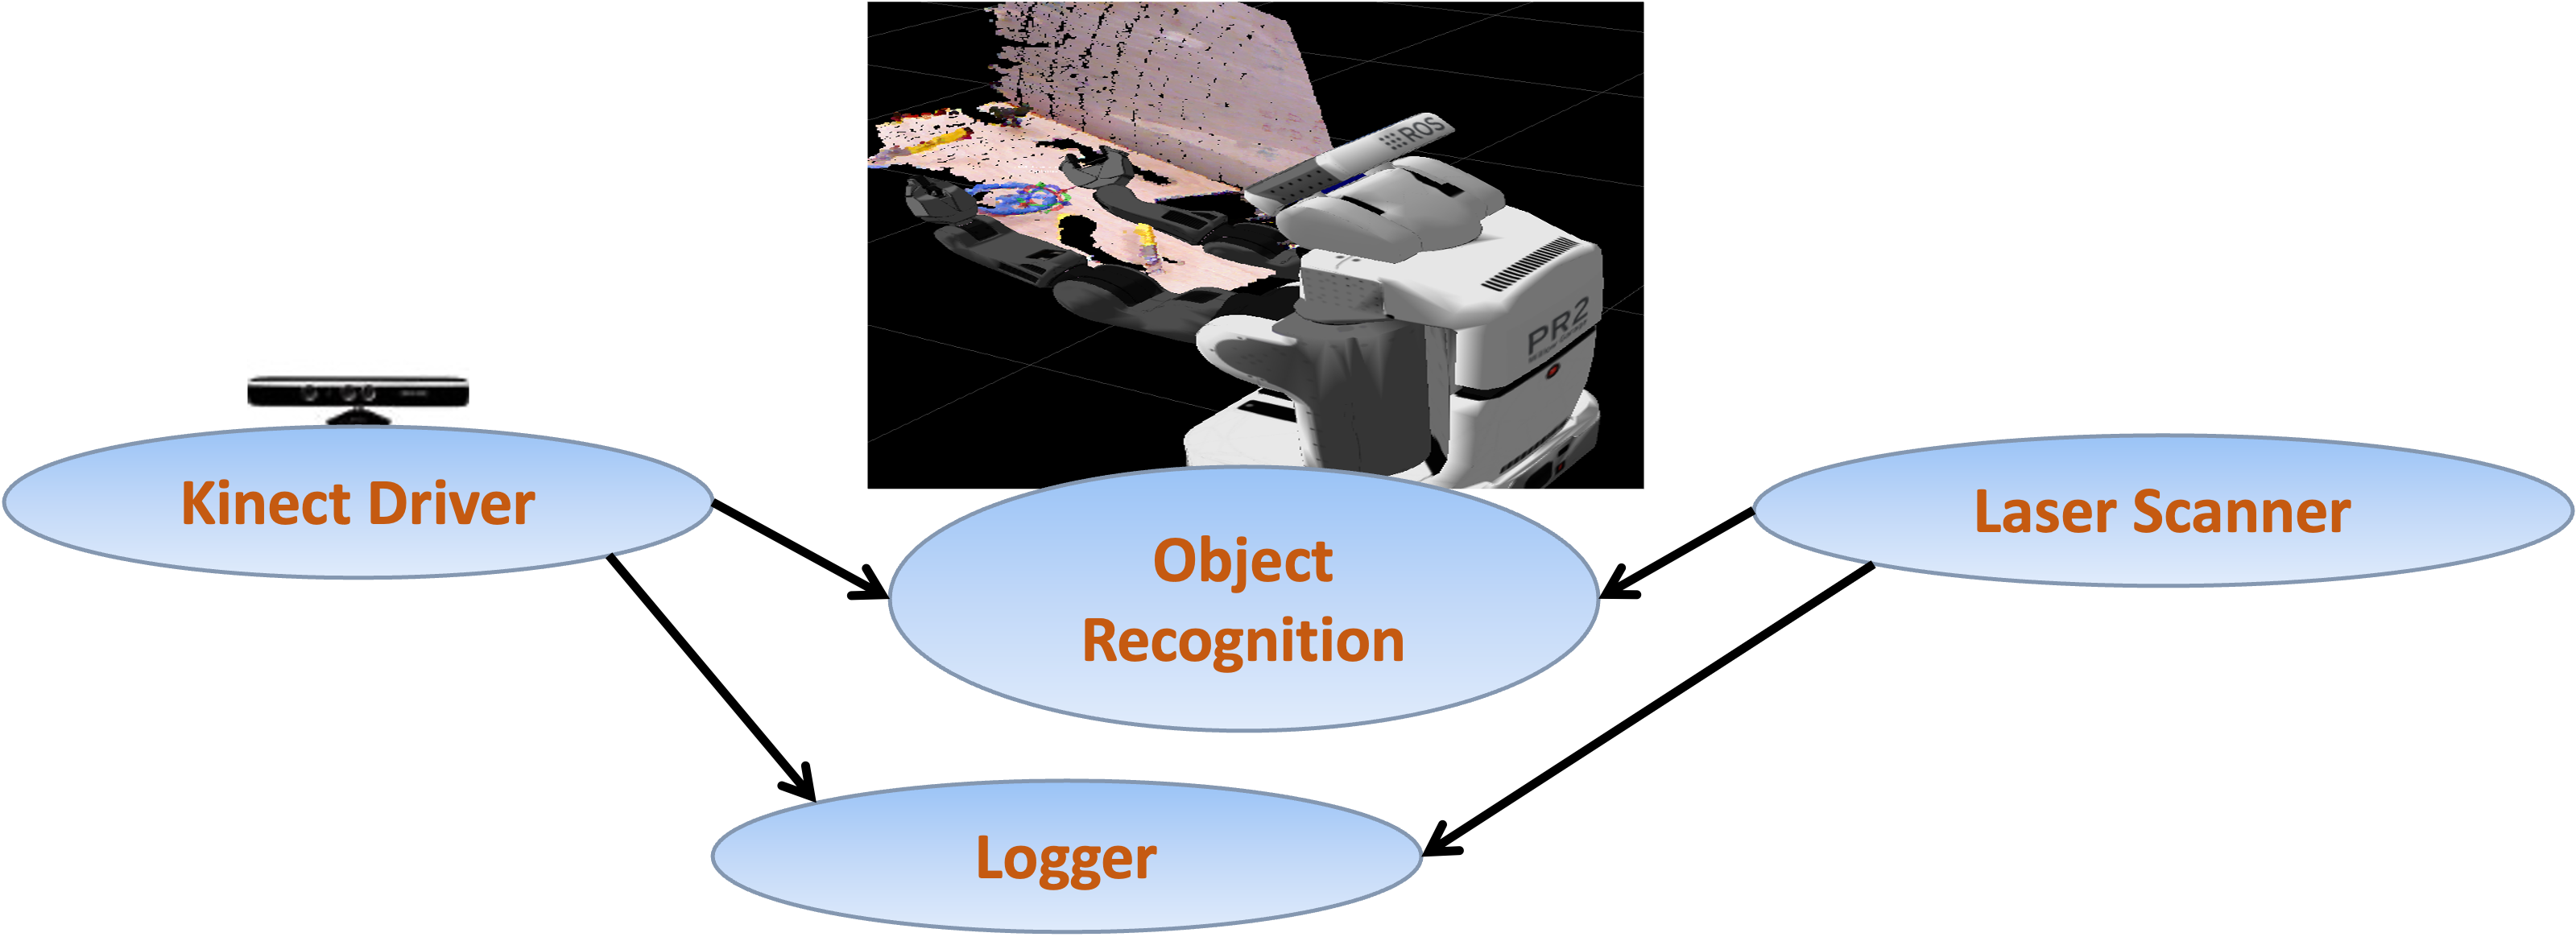
Part 9: Visualization and simulation

ROS visualization: rviz2

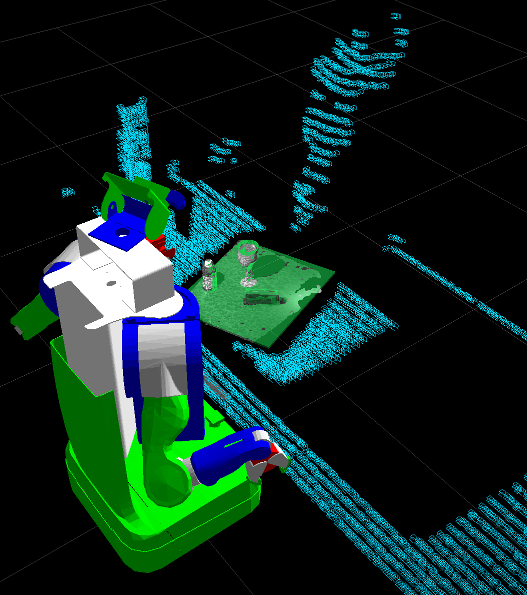
Visualize:

  • Sensor data (LaserScan as colored points)
  • Robot model and joint states
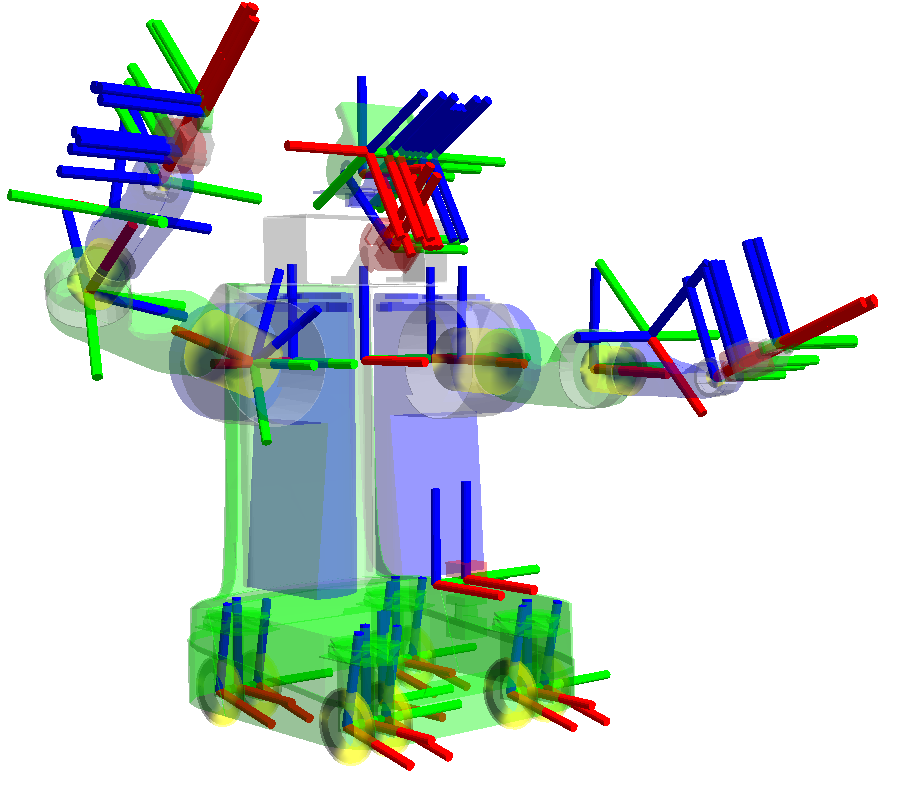
  • Coordinate frames (tf2)
  • Maps being built
  • Debugging 3D markers (visualization_msgs/Marker)
rviz2 -d csc477.rviz

Set Fixed Frame to odom or base_link; add a LaserScan display and set its topic and QoS to Best Effort.

ROS transformations: tf2

  • tf2 maintains a tree of coordinate frames over time (odombase_linklaser).

  • Query it from the command line:

ros2 run tf2_ros tf2_echo base_link laser
ros2 run tf2_tools view_frames      # writes frames.pdf
  • From Python: tf2_ros.Buffer + TransformListener, then buffer.lookup_transform("base_link", "laser", Time()).
  • For A1 you can assume the lidar frame is aligned with the body frame; check once with tf2_echo.

Simulation: Gazebo


  • Modern Gazebo (gz sim, formerly “Ignition”): Harmonic pairs with Jazzy, Jetty with Lyrical. The old “Gazebo Classic” reached end of life with ROS 1.
  • Gazebo is a separate process; ros_gz_bridge translates between Gazebo transport and ROS 2 topics (/husky_1/scan, /husky_1/cmd_vel, /clock).
  • Can simulate different robots, sensors, and environments.
  • Develop and test in the simulator; if the model is good enough, the same code will work on the real robot with similar performance.
ros2 launch wall_following_assignment gazebo_world.launch.py world_name:=walls_one_sided

Packages you will meet later

  • Perception
    • Point Cloud Library (PCL)
    • OpenCV (cv_bridge)
    • Depth cameras (RealSense, OAK)
  • Navigation: Nav2, SLAM Toolbox
  • Manipulation: MoveIt 2
  • Control: ros2_control

Part 10: Exercises

Exercises: tutorials/w02/code

GitHub ROS 2 needed (colcon build the package ros2_ws_src/csc477_tut02):

  1. minimal_publisher / minimal_subscriber: run them, then inspect with ros2 topic, ros2 node, rqt_graph.
  2. fake_laser_publisher + obstacle_monitor: complete the monitor so it publishes /front_clearance (Float32) and /obstacle_ahead (Bool); move the simulated obstacle with ros2 param set and watch the topics follow.
  3. param_demo: change gain at runtime from the CLI and from rqt_reconfigure.
  4. ros2 launch csc477_tut02 tut02.launch.py, then ros2 bag record /front_clearance and export to CSV.

Common pitfalls

  • Forgot to source install/setup.bash after building → Package 'x' not found.
  • Subscriber receives nothing → QoS mismatch (ros2 topic info -v), or wrong topic name (ros2 topic list), or you never called rclpy.spin.
  • AssertionError: The 'data' field must be of type 'float' → cast numpy scalars with float().
  • Robot does not move → the velocity topic name is wrong, or linear.x is 0, or the simulation is paused.
  • Everything oscillates wildly → kp too large, or dt is wrong (check with ros2 topic hz), or the sign of angular.z is flipped.
  • Parameters silently ignored → set an int where a float was declared, or set them before the node declared them.

ROS resources